Designing a tattoo is a creative and detailed process that involves multiple steps.
In this article I will show you how to design a tattoo and what details you need to consider. In the end you will better understand the tattoo design process from conceptualization to the final design.
Designing a tattoo is not just about aesthetics but also about meaning, style, and personal expression.
Supplies
Designing a tattoo quickly yet effectively involves focusing on the essential elements and streamlining the process. How to design a tattoo for yourself or how to design a tattoo for someone else is basically the same thing.
For designing a tattoo, you’ll need these supplies, depending on whether you’re creating it on paper or digitally:
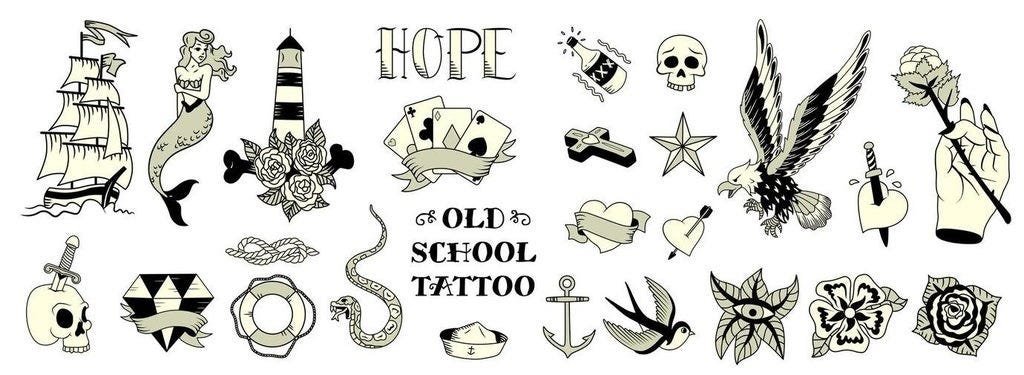
Reference Images: For inspiration search for curated tattoo galleries, organized by style, placement and theme. Places like Instagram, Pinterest and Behance are great for tattoo trends.
AI Tattoo Generator: For quick AI generated tattoos to use as inspiration and for virtual tattoo try-on.
Sketchbook: For sketching ideas on paper.
Pencils and Erasers: Essential for rough sketches and adjustments.
Fine Liners or Ink Pens: For adding clean, precise lines to designs.
Colored Pencils or Markers: To experiment with colors, shading, and depth.
Digital Tablet: For sketching ideas digitally.
Digital Design Software: Programs like Procreate or Photoshop for detailed and refined digital designs.
Tattoo Brushes: Optional but helpful for simulating tattoo textures and shading.
Step 1: Define the Core Concept
Decide on the Theme or Symbol: Start by choosing a core idea or symbol that’s meaningful. It could be a simple shape, a word, or a small image (like a feather, star, or animal).
Think of the Meaning: Identify the main feeling or idea you want the tattoo to represent. This will help you choose something impactful and focused.
Step 2: Choose a Tattoo Style
Pick a Basic Style: Select a simple style to save time, like line art, blackwork, or minimalism. These styles require fewer details and are quick to design but can be very striking.
Stick to Black Ink: Black ink tattoos are quick and versatile, and they also age well. Color tattoos take more time to design and might need more planning for shades and blending.
Consider the Size and Placement: A minimalist tattoo works well for smaller areas (like the wrist, ankle, or collarbone) and allows you to avoid complex shading or layering.
Step 3: Sketch a Quick Draft
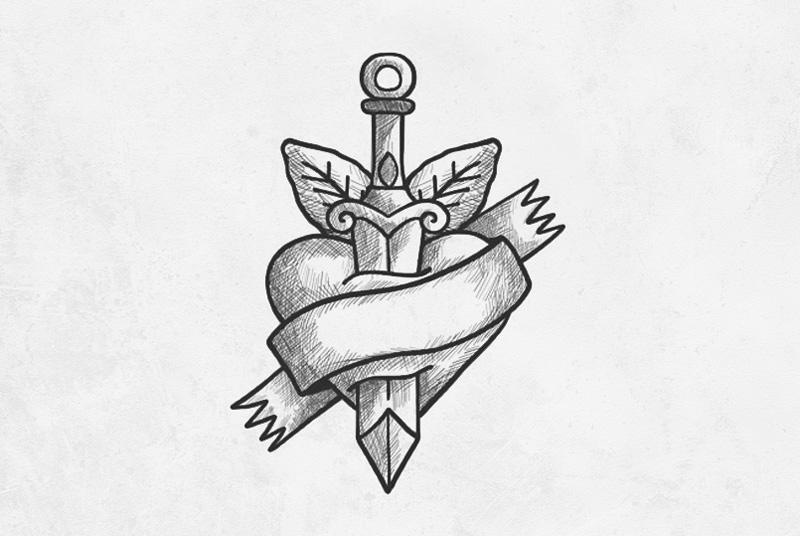
Start with Rough Lines: Sketch the main outlines of your idea. For example, if it’s a heart, draw the basic shape without worrying about perfect lines.
Add Small Details Sparingly: Include only essential details that make the design recognizable and unique. For instance, a line, a dot, or a tiny symbol within or around the main image can add depth without taking too long.
Step 4: Refine the Tattoo Drawing and Simplify
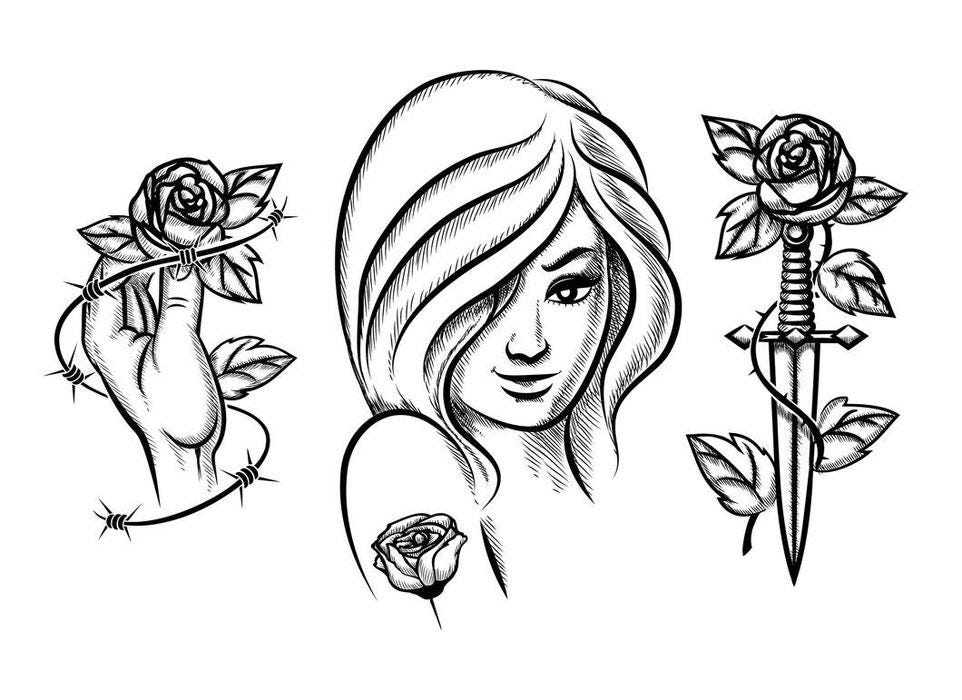
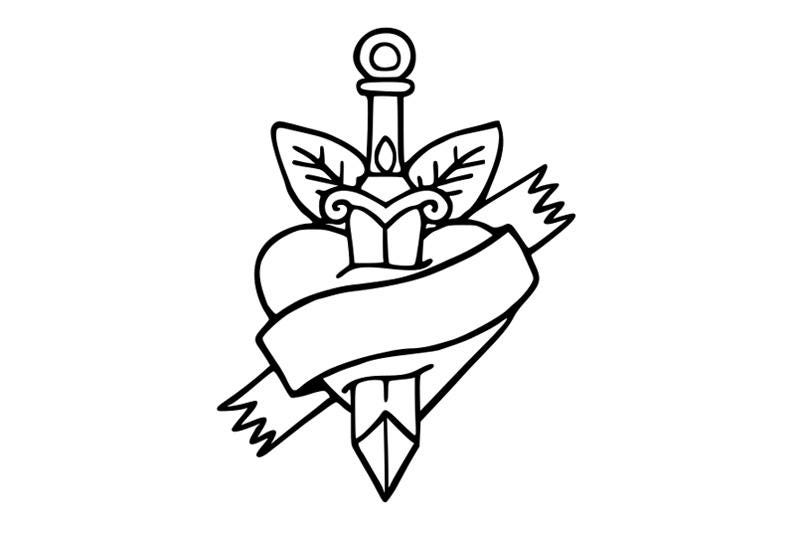
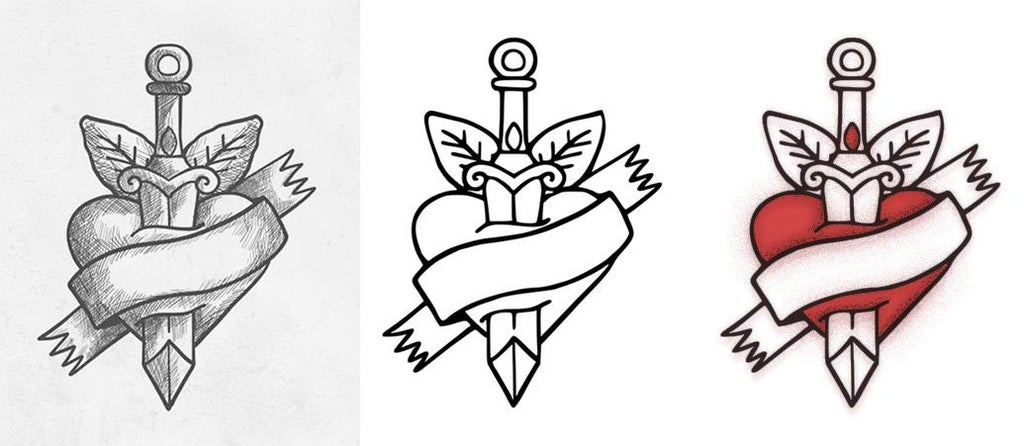
Simplify and Refine: Go over the tattoo sketch with a clean outline, removing any unnecessary elements. Make sure the design is clear and recognizable, as simple lines can be very impactful.
Use Digital Tools if Possible: If you have access to a tablet or drawing software, create a cleaner digital version by tracing over your rough sketch for a polished look. You can digitize your tattoo drawings using a phone and a digital software like Photoshop, Inkscape, etc.
Step 5: Best Software for Drawing Tattoos
For tattoo design, top software includes:
Procreate: Powerful drawing app for iPad, ideal for detailed tattoo designs with custom brushes.
Adobe Photoshop: Excellent for complex designs and layering, great for experienced digital artists.
Tattoo Smart: Offers tattoo brushes and tools, perfect for realistic shading and textures.
MockoFun: AI tattoo generator to create custom tattoo designs quick and easy.
InkHunter: Allows you to sketch designs and visualize them on the body through augmented reality.
Clip Studio Paint: Known for its precision and versatile tools, popular for line art and intricate patterns.
Adobe Illustrator: Vector-based, great for clean lines and scalable designs suitable for any size tattoo.
MediBang Paint: Free with an array of brushes, good for beginners exploring tattoo design basics.
Tattoo artists typically create designs from scratch, although the trend is shifting toward the use of AI tools in the design process.
Step 6: Consider Color or Shading
Add Basic Shading: Use minimal shading to add depth, but keep it subtle to save time.
Opt for Black and Grey: To keep it quick, stick to black ink or grayscale shading. Color can add time to both the design and tattooing process.
Step 7: Review and Adjust for Placement
Visualize on the Body: Imagine or sketch a quick outline of where the tattoo will sit. Adjust the size or orientation if needed to fit the area nicely.
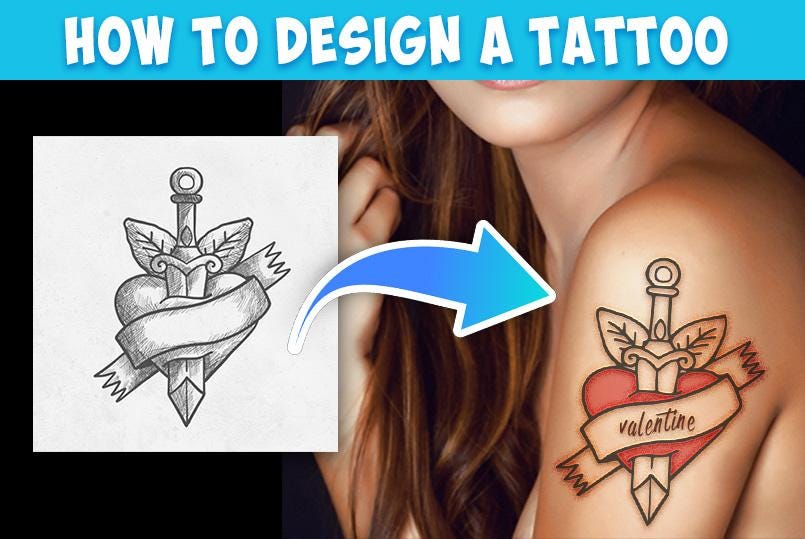
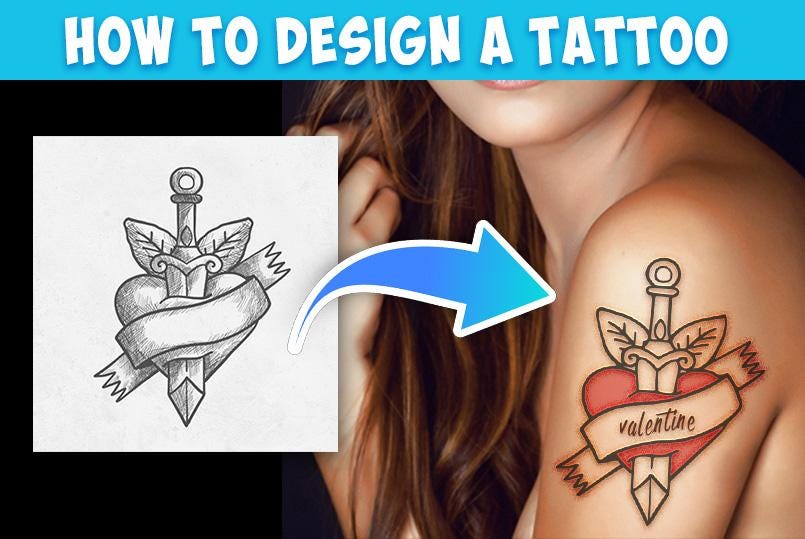
Virtual Tattoo Try-On: AI tools now let you preview tattoos on your body by overlaying designs onto photos of your skin. You can adjust placement, size, and angle, seeing exactly how the tattoo will look in real life. This makes it easy to choose a design and placement with confidence before visiting the tattoo studio.
Step 8: In Conclusion
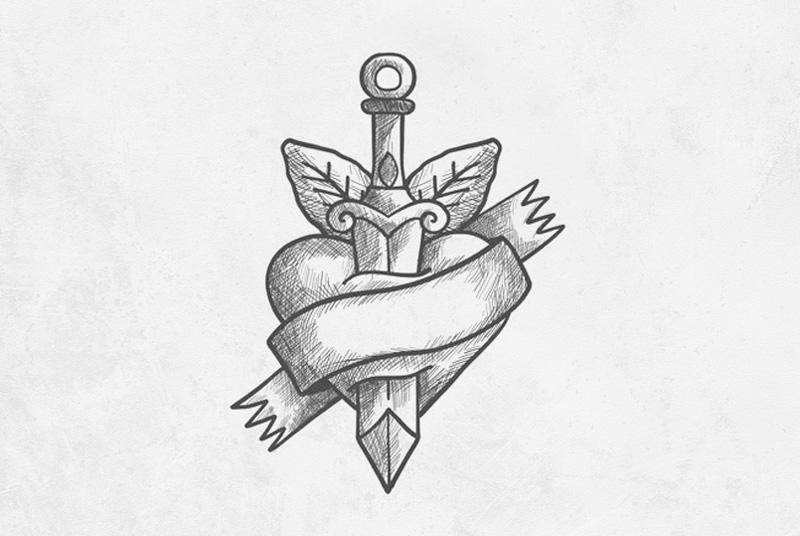
After reading this tutorial you can now start designing your own tattoo. Start with something simple and follow all the steps: tattoo paper sketch, digital art and tattoo transferred on skin.
Credit images: Freepik

